Daily Inspection and Preventive Maintenance for Tri-Loaders
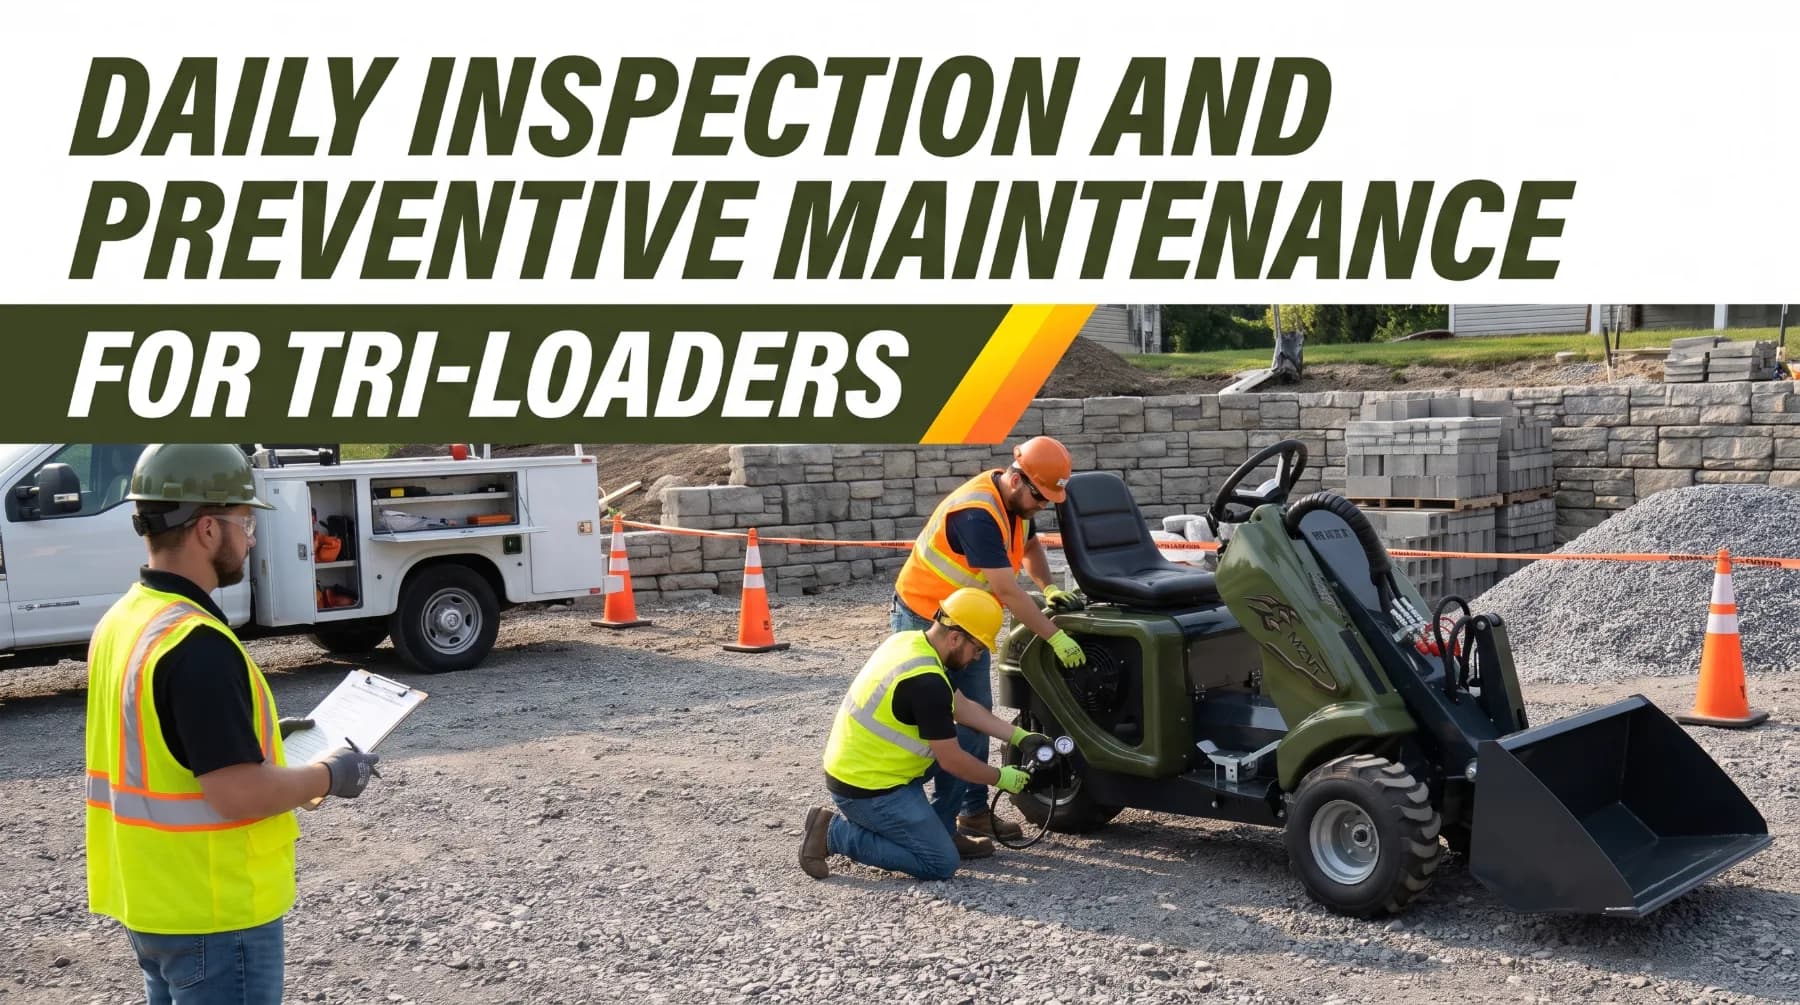
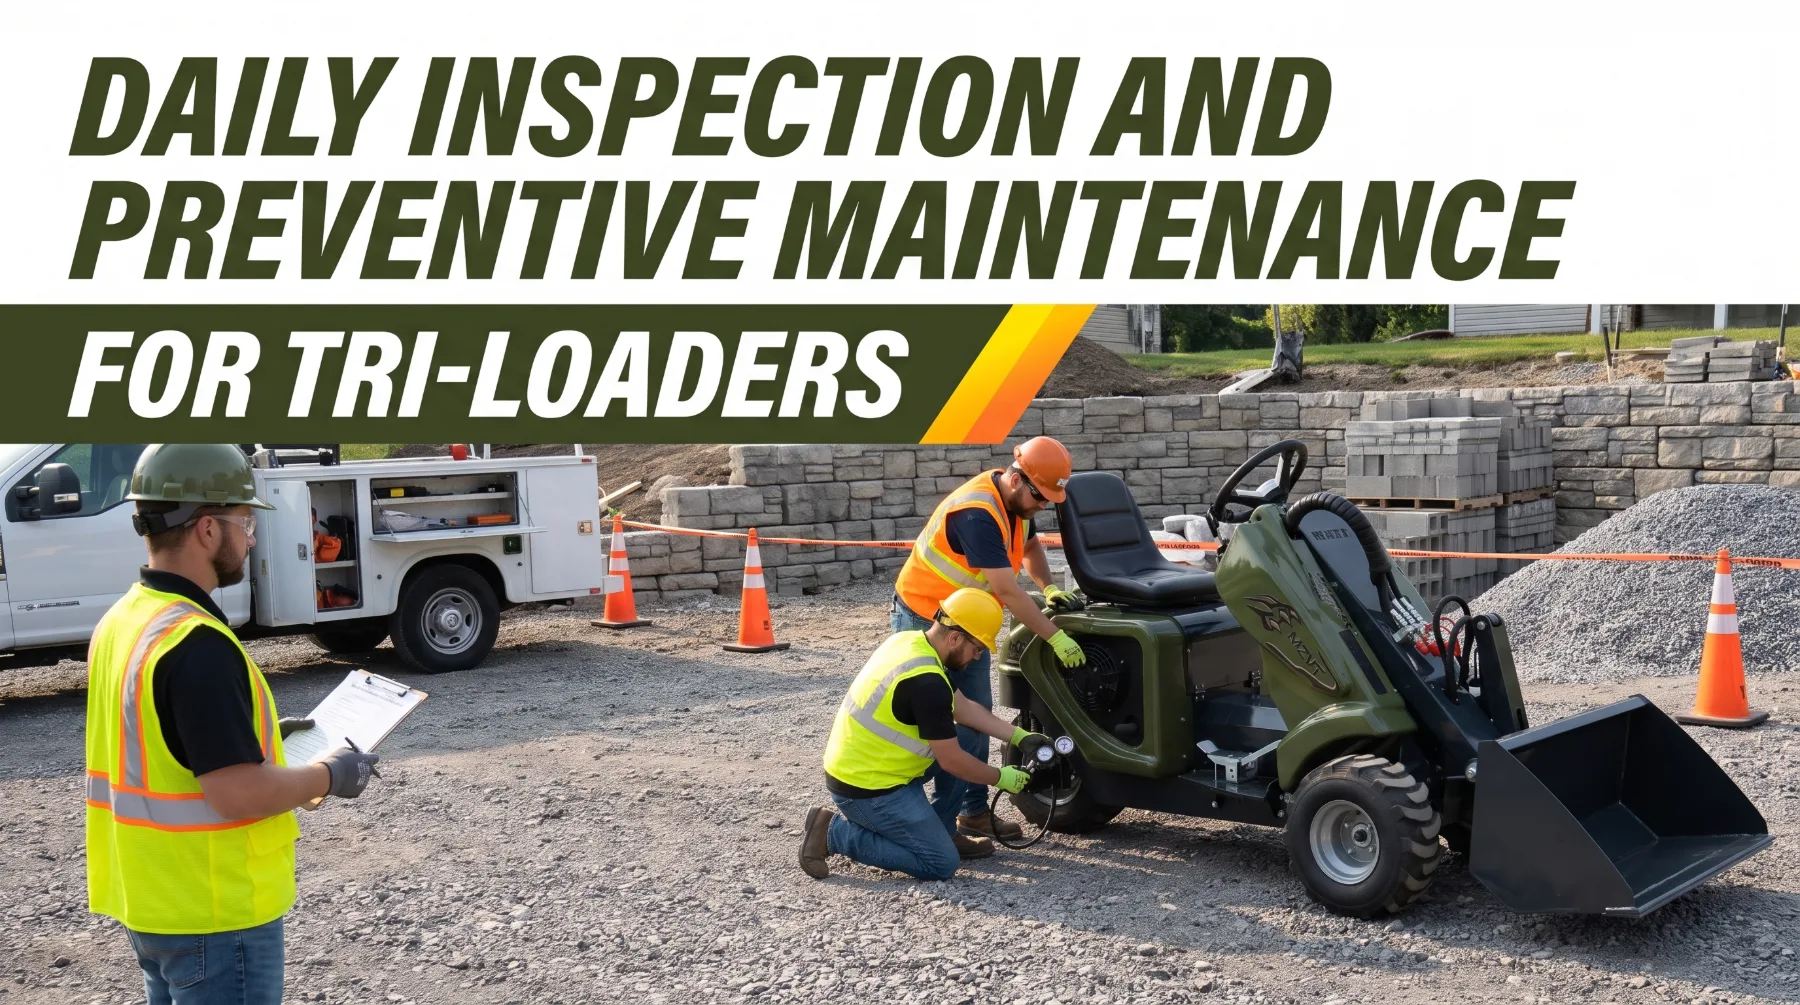
Tri-loaders handle a large share of the lifting, carrying, and loading on compact jobsites. They move soil through garden gates, carry pallets across small building sites, and load material in yards where larger loaders can't turn. All of that repeated work puts steady demands on the engine, hydraulic system, tires, steering, lift arms, and attachment connections. A tri-loader that runs well in the morning can develop a leaking hose, a soft tire, or a worn locking pin by the end of a demanding week. The machine often gives early signs of trouble, but those signs only help when someone looks for them.
Daily inspection catches developing problems before they stop work or create unsafe conditions. A five- to fifteen-minute walk-around before the first start can reveal low fluid levels, damaged hoses, loose wheel nuts, and attachment pins that haven't fully engaged. Preventive maintenance goes further. It follows the manufacturer's service intervals, replaces fluids and filters on schedule, and addresses wear based on condition rather than waiting for failure. Together, these two practices keep the machine reliable and hold repair costs down.
The payoff is significant for contractors who depend on compact equipment. Because tri-loaders have a small support base, faults affecting tires, steering, hydraulics, or attachments can quickly affect stability and control. A burst hose can drop a load. An underinflated tire can tilt the machine under weight. Regular inspection protects the operator, the crew, and the job schedule.
Checking Tires, Wheels, and Steering Components
A tri-loader rests on three contact points, so the condition of every tire and wheel directly affects stability, traction, and steering. Start each inspection here, with the machine parked on firm, level ground, the attachment lowered, the parking brake engaged, the engine off, and the key removed.
Check tire pressure with an accurate gauge and compare it against the manufacturer's specification for your machine and tire type. Incorrect pressure affects more than tire life. An underinflated tire lets the machine lean under load, reduces stability margin, and makes steering heavier. Overinflation reduces traction and makes the ride harsher. Uneven pressure between tires can cause the machine to pull to one side. Check pressure when tires are cold for the most accurate reading.
Inspect wheels and fasteners next. Look for cracked or bent rims, damaged valve stems, and loose, missing, or damaged wheel nuts. Rust streaks or shiny marks around wheel nuts often indicate a nut that has been working loose. Tighten fasteners to the manufacturer's torque specification using the correct pattern.
Then check steering components. Depending on the design, these may include steering cylinders, pivot points, linkages, joints, and the steering column. Look for looseness, excessive play, leaking cylinders, and damaged or worn pivot pins. Before moving into the work area, test steering response in a clear space at low speed.
If the machine pulls to one side, steers unevenly, makes clunking or grinding noises, or responds inconsistently, investigate before continuing. Tire inflation and repair also carry their own hazards. Damaged tires and wheels can fail violently when inflated, so leave repairs, mounting, and inflation of damaged assemblies to trained personnel using the proper equipment.
Key takeaway: Inspect every tire for damage and correct pressure, check wheel fasteners and rims, and test steering in a clear area before work, because a three-wheel machine depends on each contact point for stability and control.
Examining Hydraulic Hoses and Cylinders
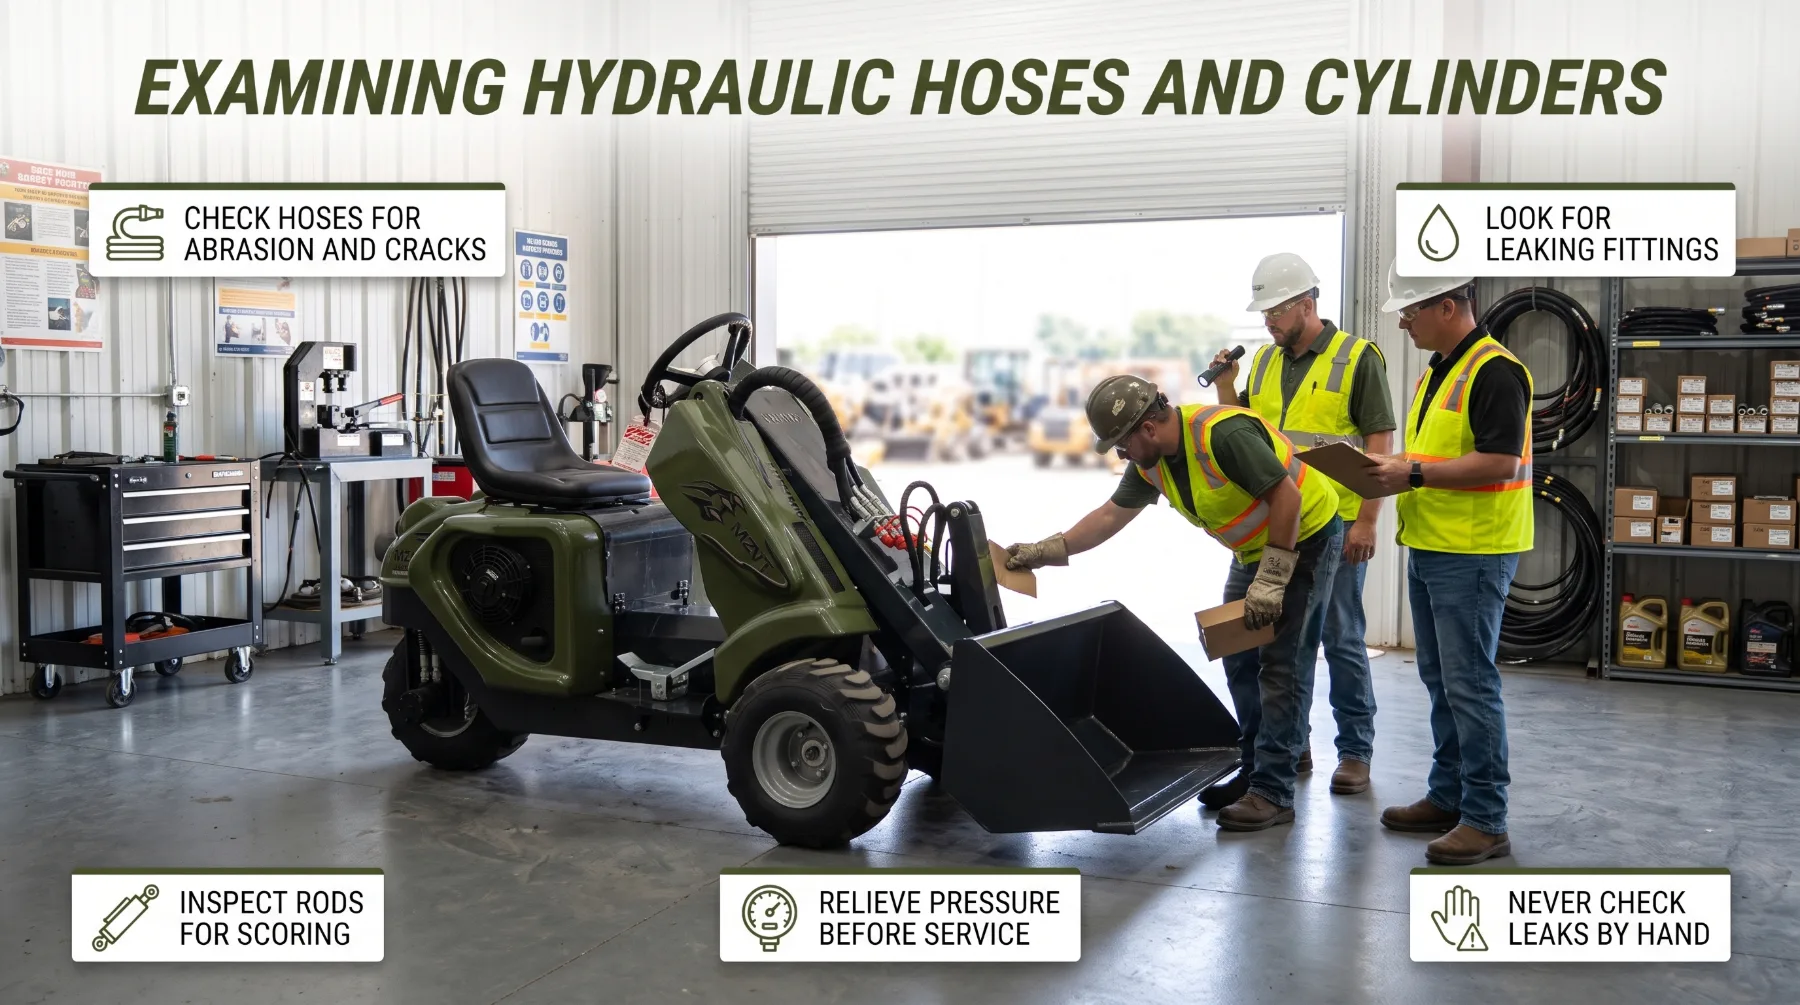
The hydraulic system lifts the arms, tilts the attachment, and often powers steering. It operates under high pressure, so damage that looks minor can lead to sudden failure. A burst hose can cause a raised load to drop, a loss of steering, or a dangerous spray of hot fluid.
Inspect hoses and fittings along their full visible length, paying close attention to areas where they bend, rub against the frame, or move with the lift arms. Look for:
Abrasion: Worn outer covers, especially where hoses contact metal or each other
Cracking: Surface cracks from age, heat, or sunlight
Bulging or blistering: A sign of internal hose failure
Kinks and flattening: Restrictions that reduce flow and weaken the hose
Exposed reinforcement: Visible wire braid means the hose needs replacement
Leaking or weeping fittings: Oily residue or dust buildup around connections
Loose or missing clamps: Unsupported hoses vibrate and wear quickly
Next, examine the hydraulic cylinders. Check the cylinder rods for scoring, pitting, dents, and corrosion. Rod damage tears seals and leads to leaks. Look for oil around the rod seals and glands. A thin film can be normal on some designs, but dripping oil or a growing wet patch indicates a worn seal. Inspect cylinder mounting pins and their retainers for wear and security.
Safety is critical during hydraulic inspection. Never use your hands or fingers to search for a leak. A pinhole leak under high pressure can inject fluid through the skin, causing a serious injury that requires immediate medical attention, even if it looks small. Use a piece of cardboard or wood to check suspected leaks, and wear gloves and eye protection. Before any service, lower the attachment to the ground, shut down the engine, and relieve hydraulic pressure according to the manufacturer's procedure.
Key takeaway: Inspect hoses, fittings, and cylinders for abrasion, cracks, leaks, and rod damage, watch for slow or drifting movement, and never check for hydraulic leaks with your hands.
Verifying Lift Arms and Attachment Locking Points
The lift arms and attachment interface carry every load the tri-loader handles. Each lift transfers force from the hydraulic cylinders through pins, bushings, and welds into the attachment and the material it holds. Wear or damage at any of these points can affect control and, in serious cases, allow an attachment or load to separate from the machine.
Inspect the lift arms and linkage for:
Cracked welds, particularly at high-stress joints and mounting points
Bent or twisted arms, which may indicate overloading or impact damage
Worn pins and bushings, shown by excessive play, knocking, or uneven wear
Missing or damaged pin retainers, such as bolts, clips, and keepers
Dry pivot points that need lubrication
Grease pivot points at the intervals specified by the manufacturer, and more often in wet, sandy, or muddy conditions. Clean each grease fitting before connecting the grease gun so dirt doesn't enter the joint. Fresh grease purging from a joint also helps push out contaminants.
After coupling an attachment, test the connection according to the manufacturer's procedure. Typically, this means tilting the attachment and applying light downward pressure against the ground while watching for movement between the attachment and the mounting plate. If anything shifts, lower the attachment and recheck the connection.
Never walk, stand, or work under raised lift arms. If service requires the arms to stay raised, use the manufacturer's approved lift arm support device. Hydraulic pressure alone should never be trusted to hold the arms in place during maintenance.
Do not operate the machine if a locking pin, structural weld, pivot pin, or attachment connection is damaged or fails to engage correctly. Remove it from service until the fault is repaired.
Key takeaway: Check lift arms for cracks, bends, and worn pins, keep pivot points lubricated, confirm attachment locks are fully engaged and tested before every lift, and never work under unsupported raised arms.
Testing Brakes, Controls, and Safety Equipment
A thorough visual inspection confirms the machine's physical condition. A function check confirms that it responds correctly. Brakes, controls, and safety equipment must all work as designed before the tri-loader enters the work area.
Start with safety equipment while seated, before starting the engine where appropriate:
Seat belt: Confirm it latches, releases, and retracts properly, with no fraying or cuts.
ROPS or protective frame: Check for damage, cracks, and loose or missing mounting bolts.
Mirrors: Confirm they're clean, secure, and adjusted from the operating position.
Warning decals: Make sure safety and capacity labels are present and legible.
After starting the engine, check that warning lights and gauges behave as the manufacturer describes during start-up, then go out. Test the horn, lights, beacon, and reversing alarm where fitted.
Then move to a clear area and test the controls at low speed:
Service brake: Confirm the machine stops smoothly and evenly without pulling to one side.
Parking brake: Confirm it holds the machine securely according to the manufacturer's test procedure.
Steering: Check for smooth, predictable response in both directions.
Throttle and travel controls: Confirm they respond evenly and return to neutral when released.
Lift and tilt controls: Raise, lower, and tilt the attachment through its full range, checking for smooth movement and correct return to neutral.
Interlocks: Where fitted, confirm seat or control interlocks prevent movement as designed.
Report any warning light, abnormal noise, soft or uneven braking, or inconsistent control response before work begins. Controls that stick, creep, or fail to return to neutral can cause unintended movement near workers and structures.
Never bypass, disable, or tape over a safety device to keep the machine running. Interlocks, alarms, and seat belts exist to prevent serious injuries, and a disabled safety system can turn a routine task into a serious incident. If a safety device fails, tag the machine out of service and have the fault corrected by qualified personnel.
Key takeaway: Test brakes, steering, travel, and hydraulic controls in a clear area at low speed, confirm seat belts, lights, alarms, and interlocks work, and never bypass a safety device to keep the machine operating.
Building a Preventive Maintenance Schedule
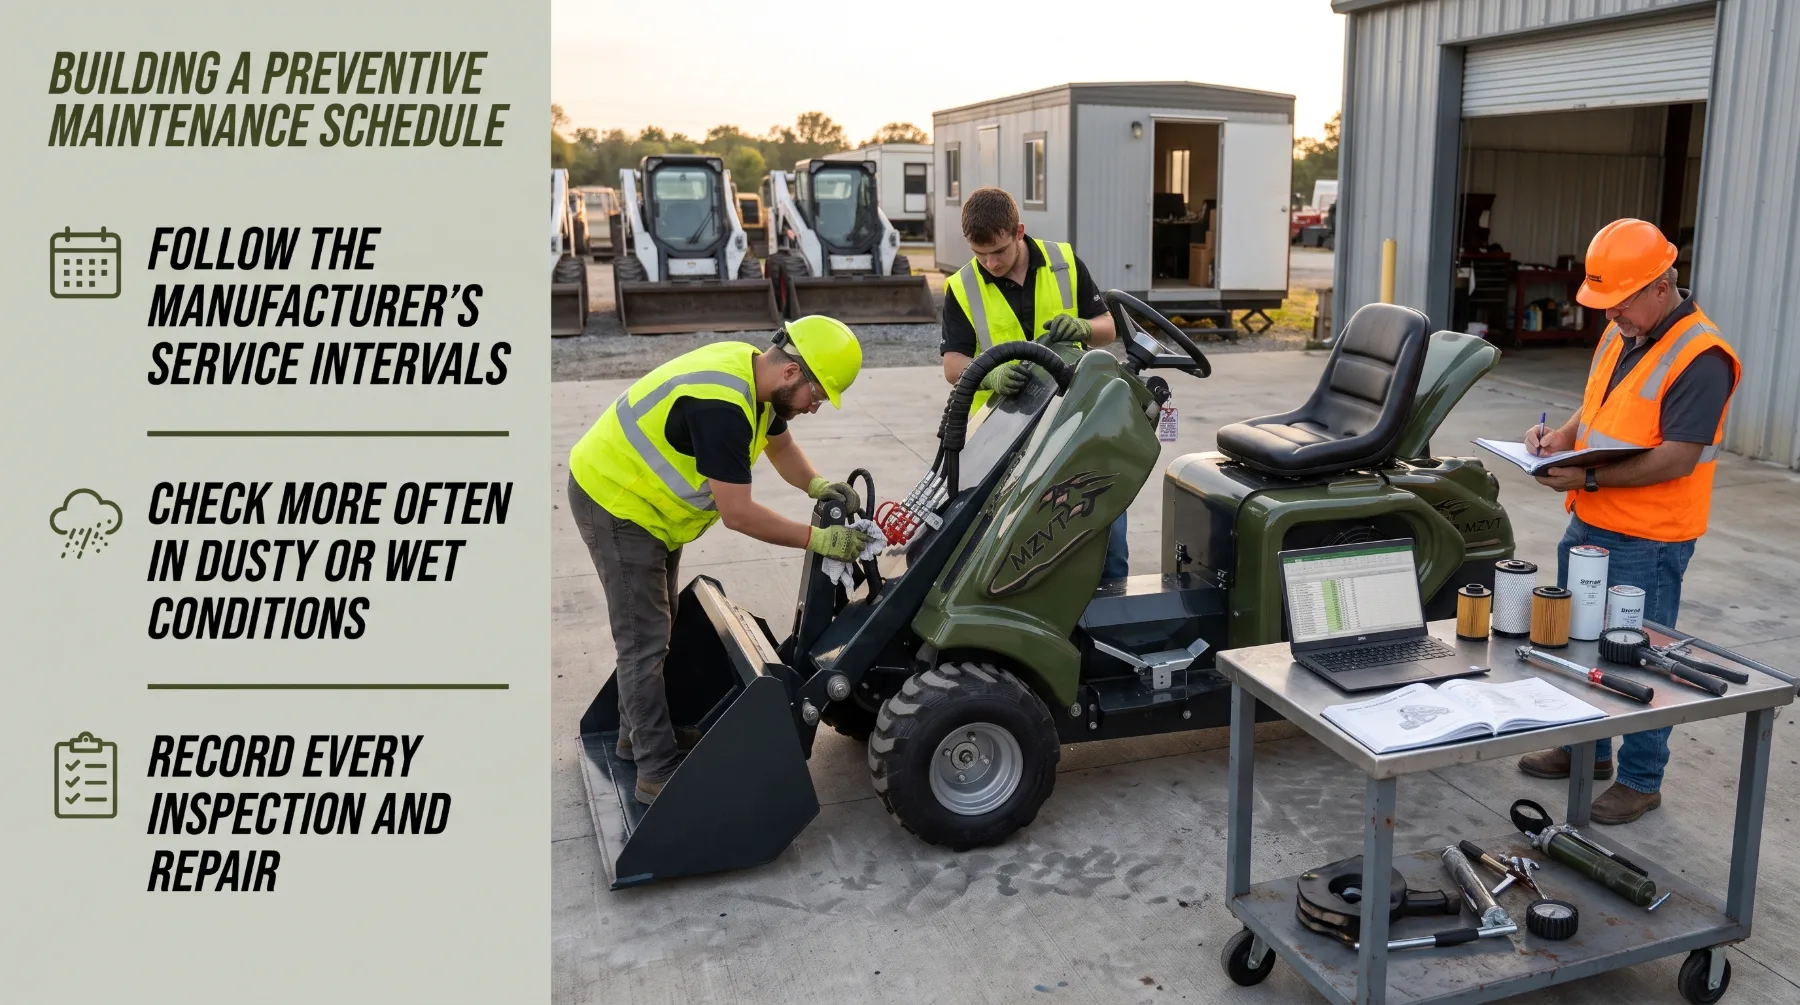
Daily inspections catch immediate problems. A preventive maintenance schedule protects the machine over its full service life by replacing fluids, filters, and wear items before they fail. The goal is to plan maintenance during scheduled downtime rather than losing a full workday to an unexpected breakdown.
Start With the Manufacturer's Intervals
The operator's manual is the foundation of any maintenance program. It sets intervals for:
Engine oil and oil filter changes
Fuel, air, and hydraulic filters
Hydraulic fluid replacement
Coolant testing and replacement
Lubrication points and grease intervals
Belt inspection and replacement
Brake and steering component checks
Intervals are usually based on operating hours, calendar time, or both. Use whichever comes first. A machine that sits idle for long periods still needs fluids and filters changed on time, since fluids degrade even when the engine isn't running.
Adjust for Working Conditions
Use the manufacturer's requirements as the baseline, then increase inspection frequency for demanding conditions. Dusty sites clog air filters and cooling screens quickly. Wet, muddy, or sandy environments wash grease from pivot points and accelerate pin wear. Heavy, continuous loading raises hydraulic temperatures and stresses components. In these conditions, check filters, cooling systems, and lubrication points more often than the minimum schedule requires.
Keep Accurate Records
Records turn maintenance from guesswork into a reliable planning tool. Track:
Operating hours at each inspection and service
Fluids and filters replaced, with dates
Repairs completed and parts used
Recurring issues and inspection findings
Tire pressure adjustments and replacements
Over time, these records reveal wear patterns, such as a hose that repeatedly fails in the same location or pins that wear faster on certain jobs. They also support warranty claims, improve resale value, and help you budget for upcoming service.
Train Operators to Report Early
Operators are often the first to notice a change, such as a new noise, slower lift, or slight pull in the steering. Encourage them to report small changes immediately and make it easy to do so with a simple checklist or defect log. Early reporting gives maintenance staff time to investigate before a minor fault becomes major downtime.
Finally, set a clear rule: a machine with a safety-critical defect stays out of service until it's repaired. That standard protects your crew and keeps the entire program credible.
Key takeaway: Build your schedule on the manufacturer's service intervals, increase checks for dusty, wet, or demanding conditions, keep detailed maintenance records, and train operators to report changes early.
Conclusion
Daily inspection and preventive maintenance keep tri-loaders reliable, productive, and safe on every job. Tires, wheels, and steering components support stability on a compact three-point base, while fluid checks and a clean cooling system protect the engine that powers every function. Careful examination of hydraulic hoses and cylinders prevents sudden failures, and verified lift arms and attachment locks keep loads secure. Function testing of brakes, controls, and safety equipment confirms the machine responds correctly before it enters the work area. A preventive maintenance schedule built on the manufacturer's intervals, adjusted for site conditions, and supported by accurate records ties it all together. Start today by creating a written daily checklist for each tri-loader in your fleet, reviewing the manufacturer's service intervals, and setting up a simple maintenance log. That routine will help your machines deliver dependable performance shift after shift.
Frequently Asked Questions
What should operators inspect before using a tri-loader?
Operators should check tires for damage and correct pressure, wheel fasteners, and steering components. They should confirm engine oil, coolant, fuel, and hydraulic oil levels, and clean the radiator and cooling screens when needed. Hoses, fittings, and cylinders should be inspected for leaks and wear, and lift arms, pivot pins, and attachment locks should be checked for damage and full engagement. Finally, test brakes, controls, the seat belt, lights, alarms, and other safety equipment in a clear area before starting work.
Why is hydraulic hose inspection important?
Hydraulic hoses carry fluid under high pressure to lift, tilt, and often steer the machine. A damaged hose can leak, reducing performance, or burst suddenly, which may cause a raised load to drop, steering to fail, or hot fluid to spray. Regular inspection catches abrasion, cracking, bulging, and leaking fittings before failure occurs. Never check for leaks with your hands, as high-pressure fluid can penetrate skin and cause serious injury. Use cardboard instead and relieve pressure before service.
How often should tri-loader maintenance be performed?
Perform a pre-operation inspection before every shift, and follow the manufacturer's service intervals for fluids, filters, lubrication, belts, and other components. These intervals are typically based on operating hours or calendar time, whichever comes first. Increase inspection frequency in dusty, wet, muddy, or heavy-duty conditions, since these environments accelerate wear and clog filters faster. Keeping maintenance records helps you track intervals accurately and identify components that wear faster on your jobs.
Should operators continue working if a safety device fails?
No. If a seat belt, brake, interlock, alarm, light, protective frame, or attachment lock fails, the machine should be removed from service and tagged out until the fault is corrected by qualified personnel. Never bypass, disable, or work around a safety device to finish a task. These systems prevent serious injuries, and operating without them puts the operator and everyone nearby at risk. Report the fault immediately and record it in the maintenance log.
Need Equipment Help?
Turn the article into a buying decision with product guidance, attachment fit checks, and quote support.